Getting started
This hands-on lab will focus on Linux, I suggest you go and read the “Linux for Dummies” post before attending this lab.
If you are currently on Windows you need to enable and install WSL (Windows subsystem for Linux), here is a dedicated guide on how to install WSL: https://ubuntu.com/tutorials/install-ubuntu-on-wsl2-on-windows-10#3-download-ubuntu
If you are running on a Mac you can just launch Iterm2, if you do not have it it is available on the App Store.
Command line basics
1. Launch the terminal.
2. Your First Command:
Type:
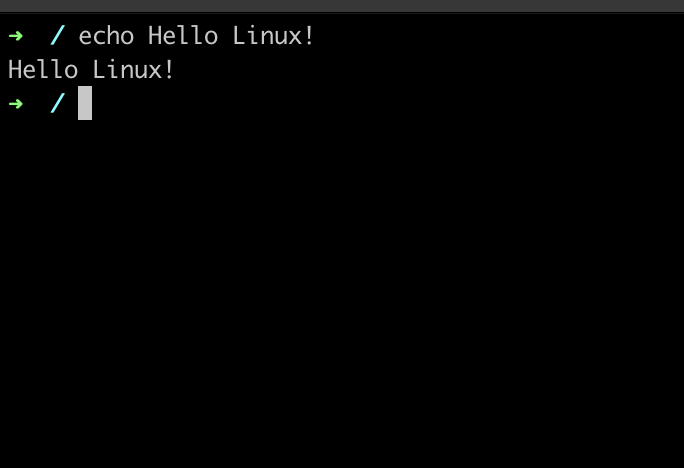
echo "Hello, Linux!"and press Enter.
Expected Outcome: The terminal should display “Hello, Linux!“.

3. Playing with Directories:
To display the directory you are working in you can use the command
pwd
You can also use the command
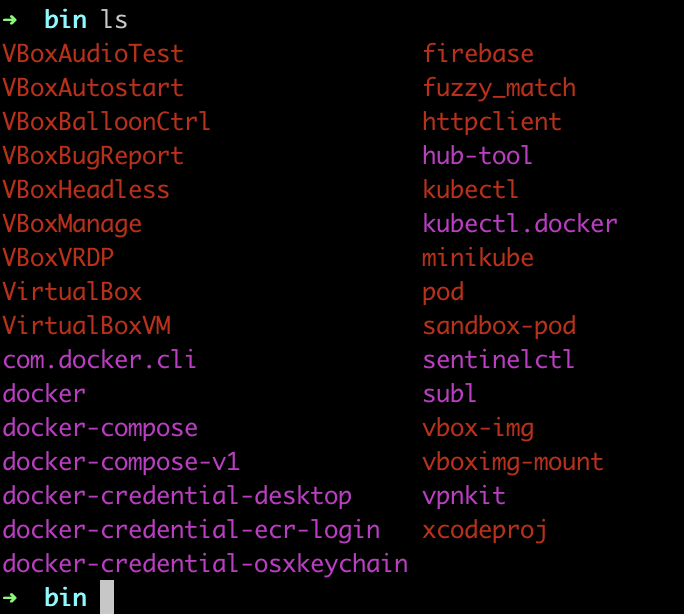
ls -alThis will list all the files and directories within the directory you are currently in as well as the permissions for them.

Create a New Workspace: Create a directory named “labwork” by entering
mkdir labwork
Enter the Workspace: Navigate into this directory using
cd labwork
4. Managing files:
Now that you are inside your new directory “labwork” lets create your first file.
Use the command
vim myfirstfile.txtThis will create a file called myfirstfile.txt and bring you in to the vim editor. While inside the editor press i to insert and start editing your file.
Now to you first challenge, to save the file and exit the vim editor. This is something all Linux users has to deal with 😉

When you manage to save and close the file you can use the command
cat myfile.txtThis will display the content of a file.

That concludes this very basic hands-on lab on Linux, I hope you got some knowledge about using the terminal. Why not explore some on your own while you are at it?
I will do some more deep diving hands-on labs on Linux In the future.
Big Love Philip 🙂


